Title here
Summary here
May 8, 2018 in Systems7 minutes
I have a predominantly technical background. You can show me all the slide decks you want but until I can get my hands on it, it’s not real to me. This has greatly influenced what I’m focusing on now that I’m doing more than just technical work - how to reduce the barrier to entry for people to become acquainted with a project or product.
As a result, I’ve been getting more involved with Tungsten Fabric (formerly OpenContrail). Tungsten is an open source Software-Defined Networking platform, and is a healthy candidate for building some tutorials. In addition, I’m new to the project in general - so, even if only for my own benefit, a blog post summarizing a quick and hopefully easy way to get up and running with it seems quite appropos.
We’re going to spin up a 3-node cluster in AWS EC2 running Kubernetes, and using Tungsten Fabric for the networking. Why AWS instead of something like Vagrant? Simply put, a lot of advanced networking software require a lot of system resources - more than most laptops are able to provide. In this case, a total of four virtual machines (three-node cluster plus Ansible provisioning machine) with Kubernetes and Tungsten isn’t exactly “lightweight”, and that’s without any applications on top. So this is a good option to quickly spin up or spin down lab all programmatically.
The lab consists of four instances (virtual machines):
Recently, the Tungsten wiki was updated with instructions and a Cloudformation template for spinning up this environment. Cloudformation is a service offered by AWS to define a whole bunch of underlying infrastructure in text files ahead of time, so you can just run a single command rather than click through a bunch of GUIs, and presto chango you have a lab.
I took this work and ran with it to provide more opinionated parameters. This makes things a little simpler for our uses, so you don’t need to bother with a bunch of inputs to get to a quick Kubernetes/Tungsten cluster.
This lab also uses the relatively new Ansible provisioning playbooks for doing much of the legwork. Once CloudFormation spins up a single instance for running these playbooks, they’ll spin up additional AWS instances, and take care of installing Kubernetes and Tungsten components for us.
One advantage of using tools like CloudFormation or Terraform, as well as simpler tools like Vagrant, is that the overwhelming majority of the infrastructure complexity is defined ahead of time in text files, so that you, the user, really only need to do a few things to get a lot of value from this lab. That said, you need to do a few things ahead of time:
CloudFormation defines infrastructure using template files. When we spin up infrastructure using CloudFormation, it refers to it all as a “Stack”. I have a Github repo where my modified CloudFormation template is located, so the first step is to clone this repo to your machine:
git clone https://github.com/mierdin/tftf && cd tftfNow that we’ve got the repo cloned, we can run this command to spin up our stack. Note that we’re referring to cftemplate.yaml in this command, which is the CloudFormation template that defines our stack, located within this repo:
aws cloudformation create-stack --capabilities CAPABILITY_IAM --stack-name tf --template-body file://cftemplate.yamlIf that runs successfully, you should see it output a short JSON snippet containing the Stack ID. At this point, we can navigate to the CloudFormation console to see how the set-up activities are progressing:

You can navigate to the EC2 dashboard and click on “Instances” to see the new instance being spun up by CloudFormation:
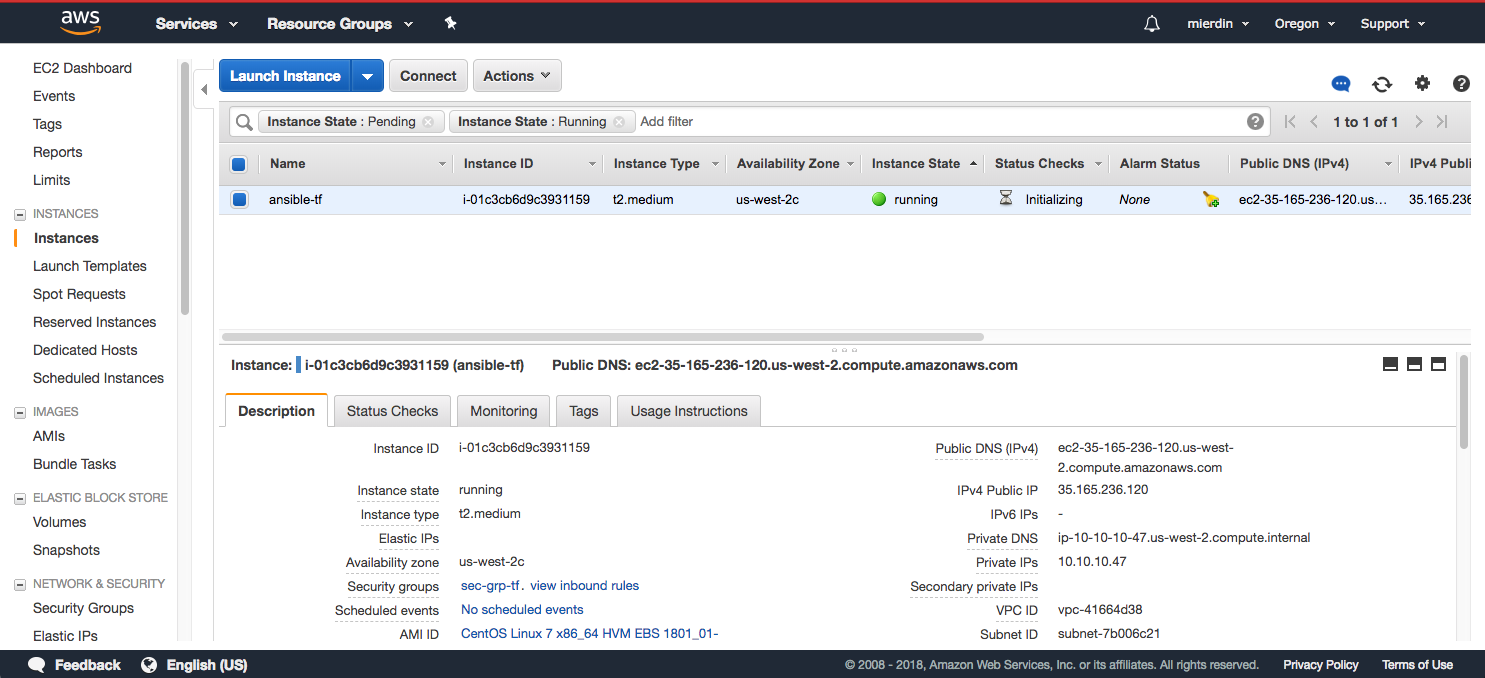
You might ask - why only one instance? Actually this is how the Ansible playbooks do their stuff. CloudFormation only needs to spin up a single instance with Ansible to run these playbooks. Once done, those playbooks will connect to the AWS API directly to spin up the remaining instances for actually running our cluster.
This means you need to be patient - it may take a few minutes for all of this to happen. Read on for details on how to know when the provisioning is “done”.
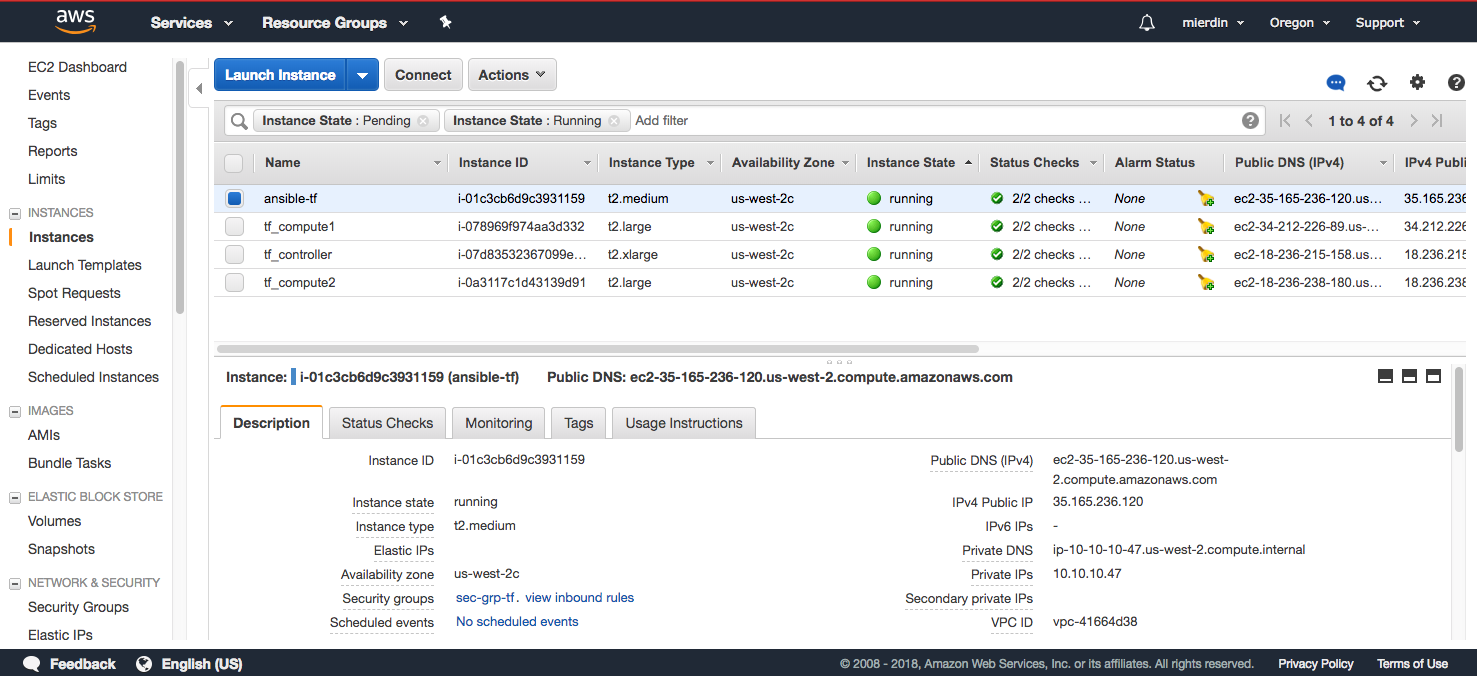
After a few minutes, some additional instances will start to appear (use the refresh button to the right):

Eventually, you’ll see a total of four instances in the dashboard - one for our initial Ansible machine spun up by CloudFormation, and the remaining three that will form our Kubernetes/Tungsten cluster:
While it’s possible to SSH directly to any instance, as they all have public IPs provisioned, the Ansible machine already has certificates in place to easily authenticate with the cluster instances. So, we can SSH to the Ansible machine once and find everything from there.
First, grab the public IP address or FQDN of the Ansible instance:

Then, use that to connect via SSH with the user root and the password tungsten123:
ssh root@<ansible instance public IP or FQDN>You should be presented with a bash prompt: [root@tf-ansible ~]# on successful login.
Now that we’re on the Ansible machine, we can take a look at the Ansible log located at /root/ansible.log. This is our only indication on the progress of the rest of the installation, so make sure you take a look at this before doing anything else:
tail -f ansible.logYMMV here. Sometimes I ran this and it was super quick, other times it took quite a long time. Such is the way of cloud.
You should see PLAY RECAP somewhere near the bottom of the output, which indicates Ansible has finished provisioning everything on the other instances. If you don’t, let the execution continue until it finishes.
Finally, we can navigate to the Tungsten Fabric (still branded OpenContrail, don’t worry about it :) ) console by grabbing the public IP address:

Use that IP or FQDN as shown below in your web browser, and log in with the user admin and the password contrail123 (leave “domain” blank):
https://<controller public IP or FQDN>:8143/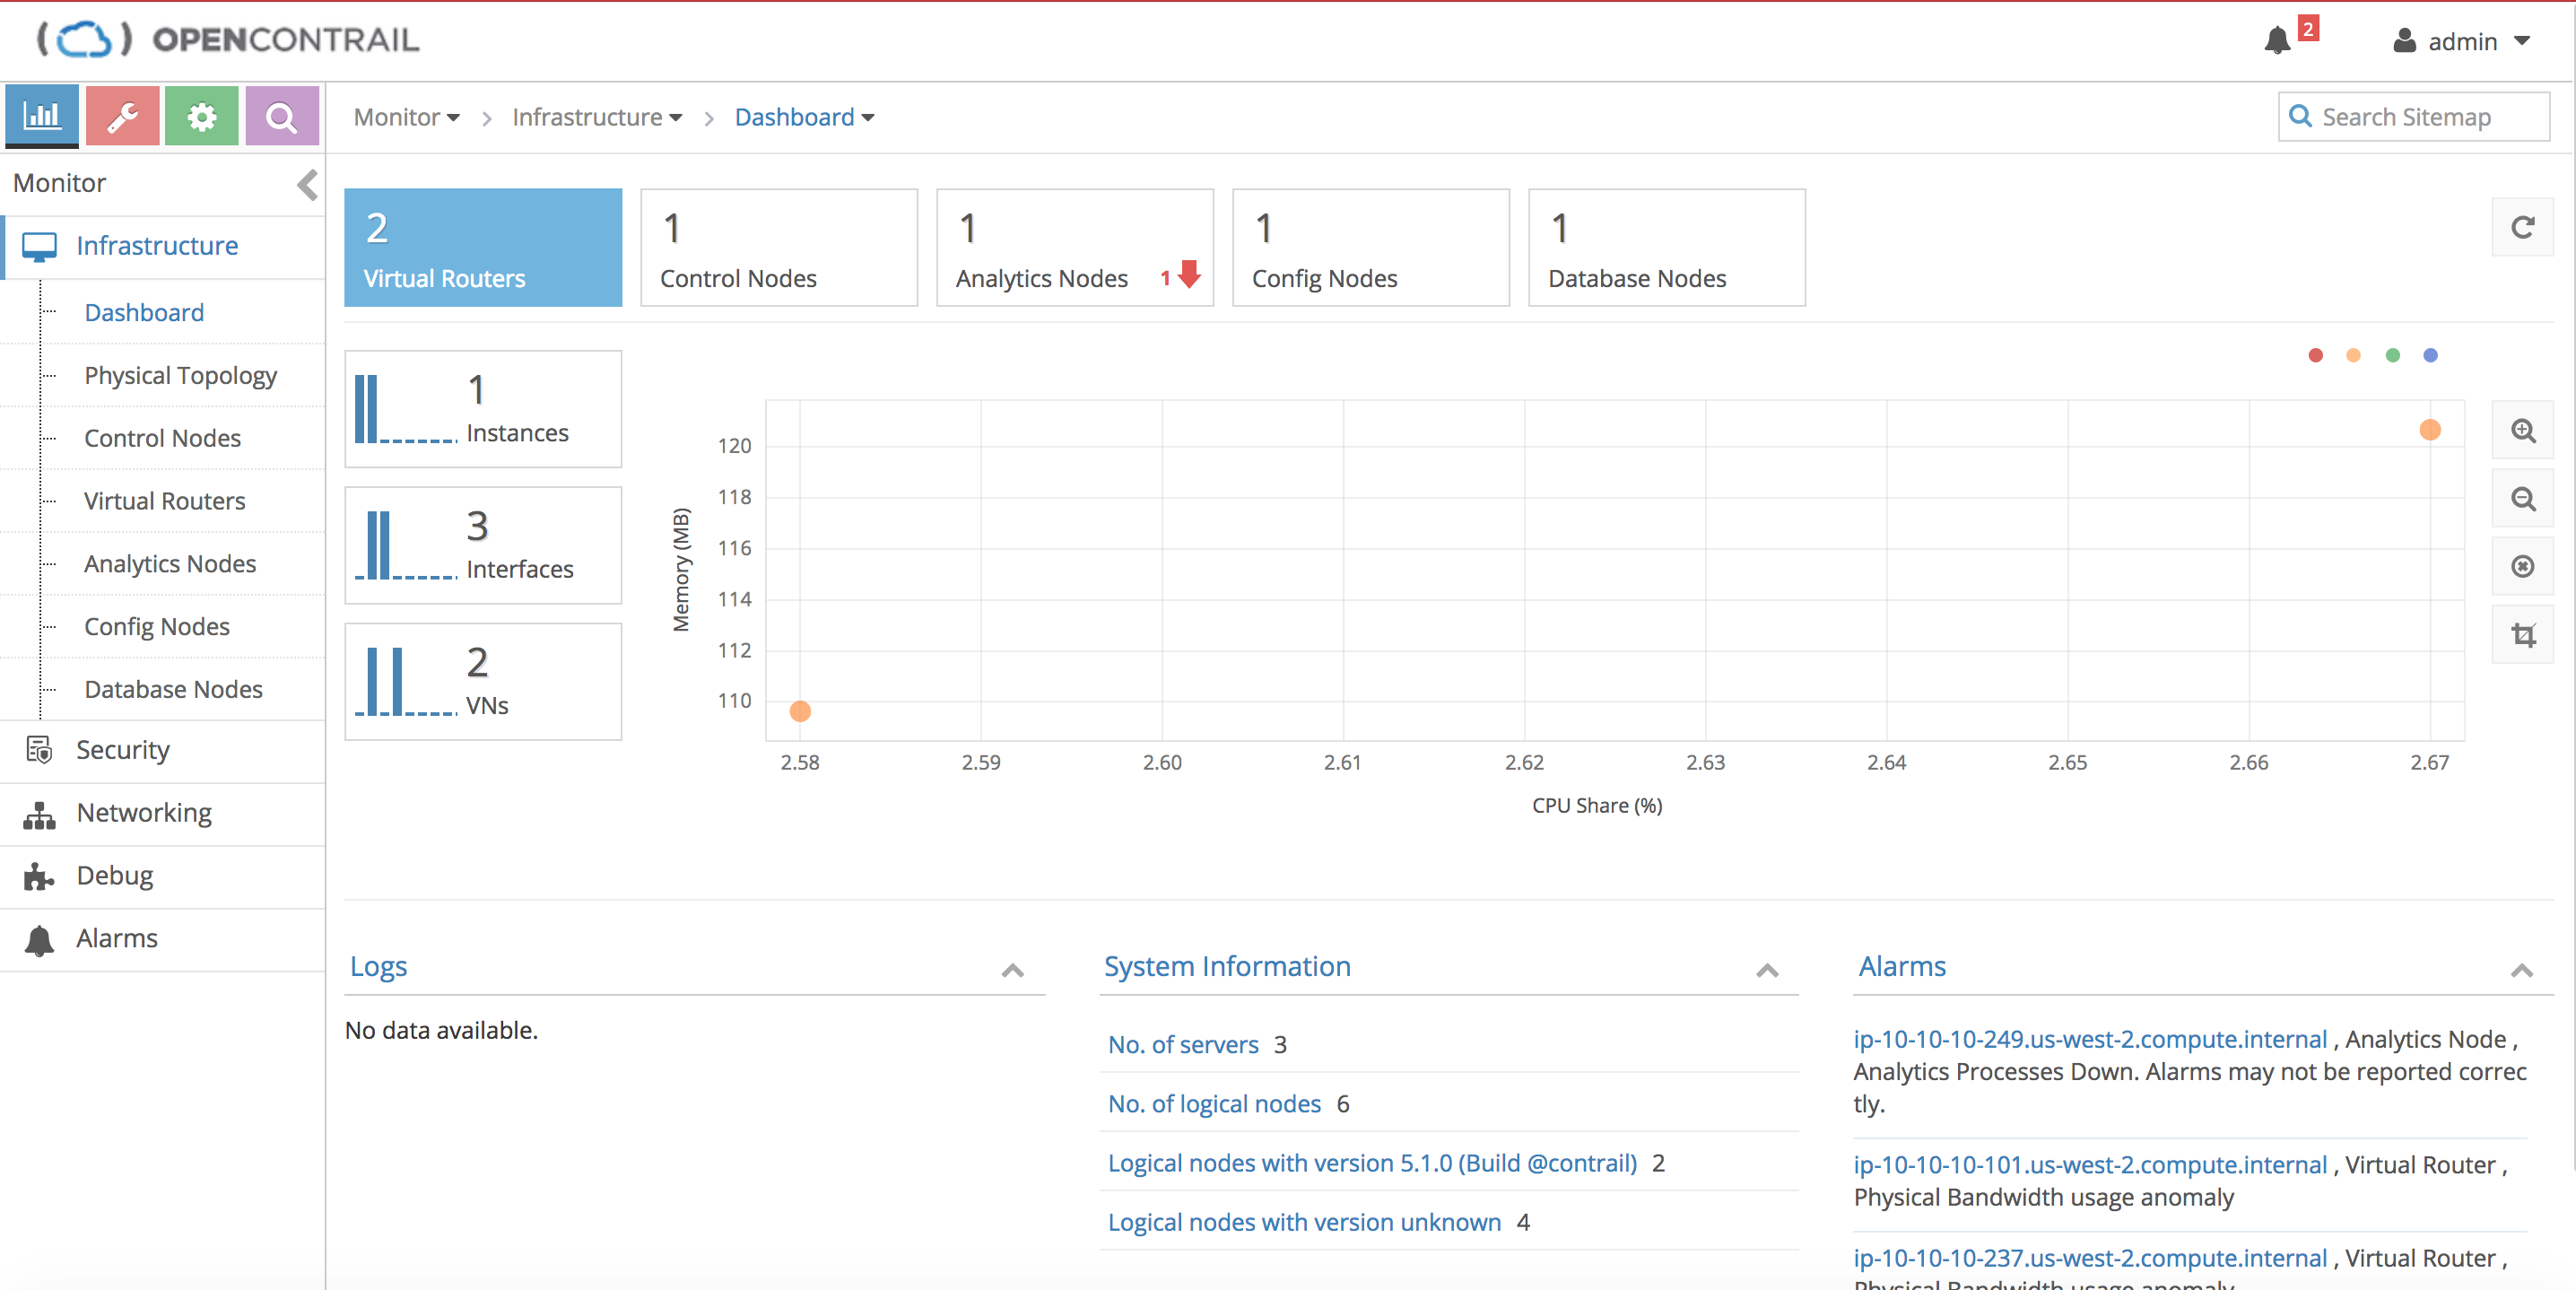
We can use the same FQDN or IP to ssh from our Ansible instance to the controller instance. No password needed, as the Ansible instance already has SSH keys installed on the cluster instances:
ssh centos@<controller public IP or FQDN>If you wish to clean everything up when you’re not using it to save cost, there’s a bit of a catch. We can delete our CloudFormation stack easily enough with the appropriate command:
aws cloudformation delete-stack --stack-name tfYou should eventually see the stack status transition to DELETE_COMPLETE in the CloudFormation console.
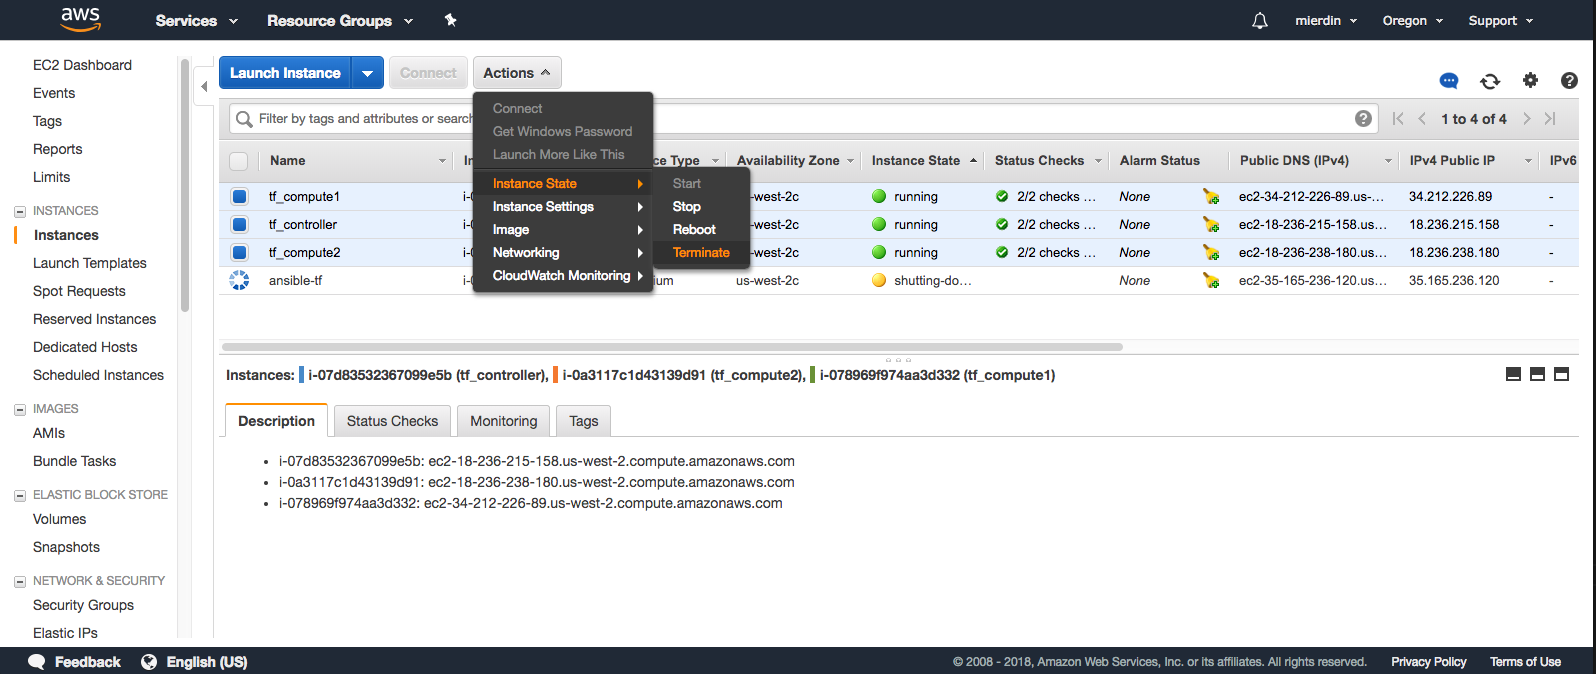
However, as mentioned previously, CloudFormation is only responsible, and therefore only knows about, the one Ansible instance. It will not automatically delete the other three instances spun up by Ansible. So we’ll need to go back into the EC2 console, navigate to instances, and manually check the boxes next to the controller and both compute instances, and select Actions > Instance State > Terminate.
You may also have to clean up unused EBS volumes as well. Make sure you delete any unused volumes from the “EBS” screen within the EC2 console. For some reason, CloudFormation isn’t cleaning these up from the Ansible instance, and I haven’t had a chance to run this issue down yet.
That’s it for now! We’ll explore this lab in much greater detail in a future blog post, including interacting with Tungsten Fabric, running applications on Kubernetes, and more.
I hope you were able to get a working Tungsten Fabric lab up and running with this guide. If you have any feedback on this guide, feel free to leave a comment, and I’m happy to improve it.